

Compare Label Sizes and Fit for Sippy Cups and Baby Bottles
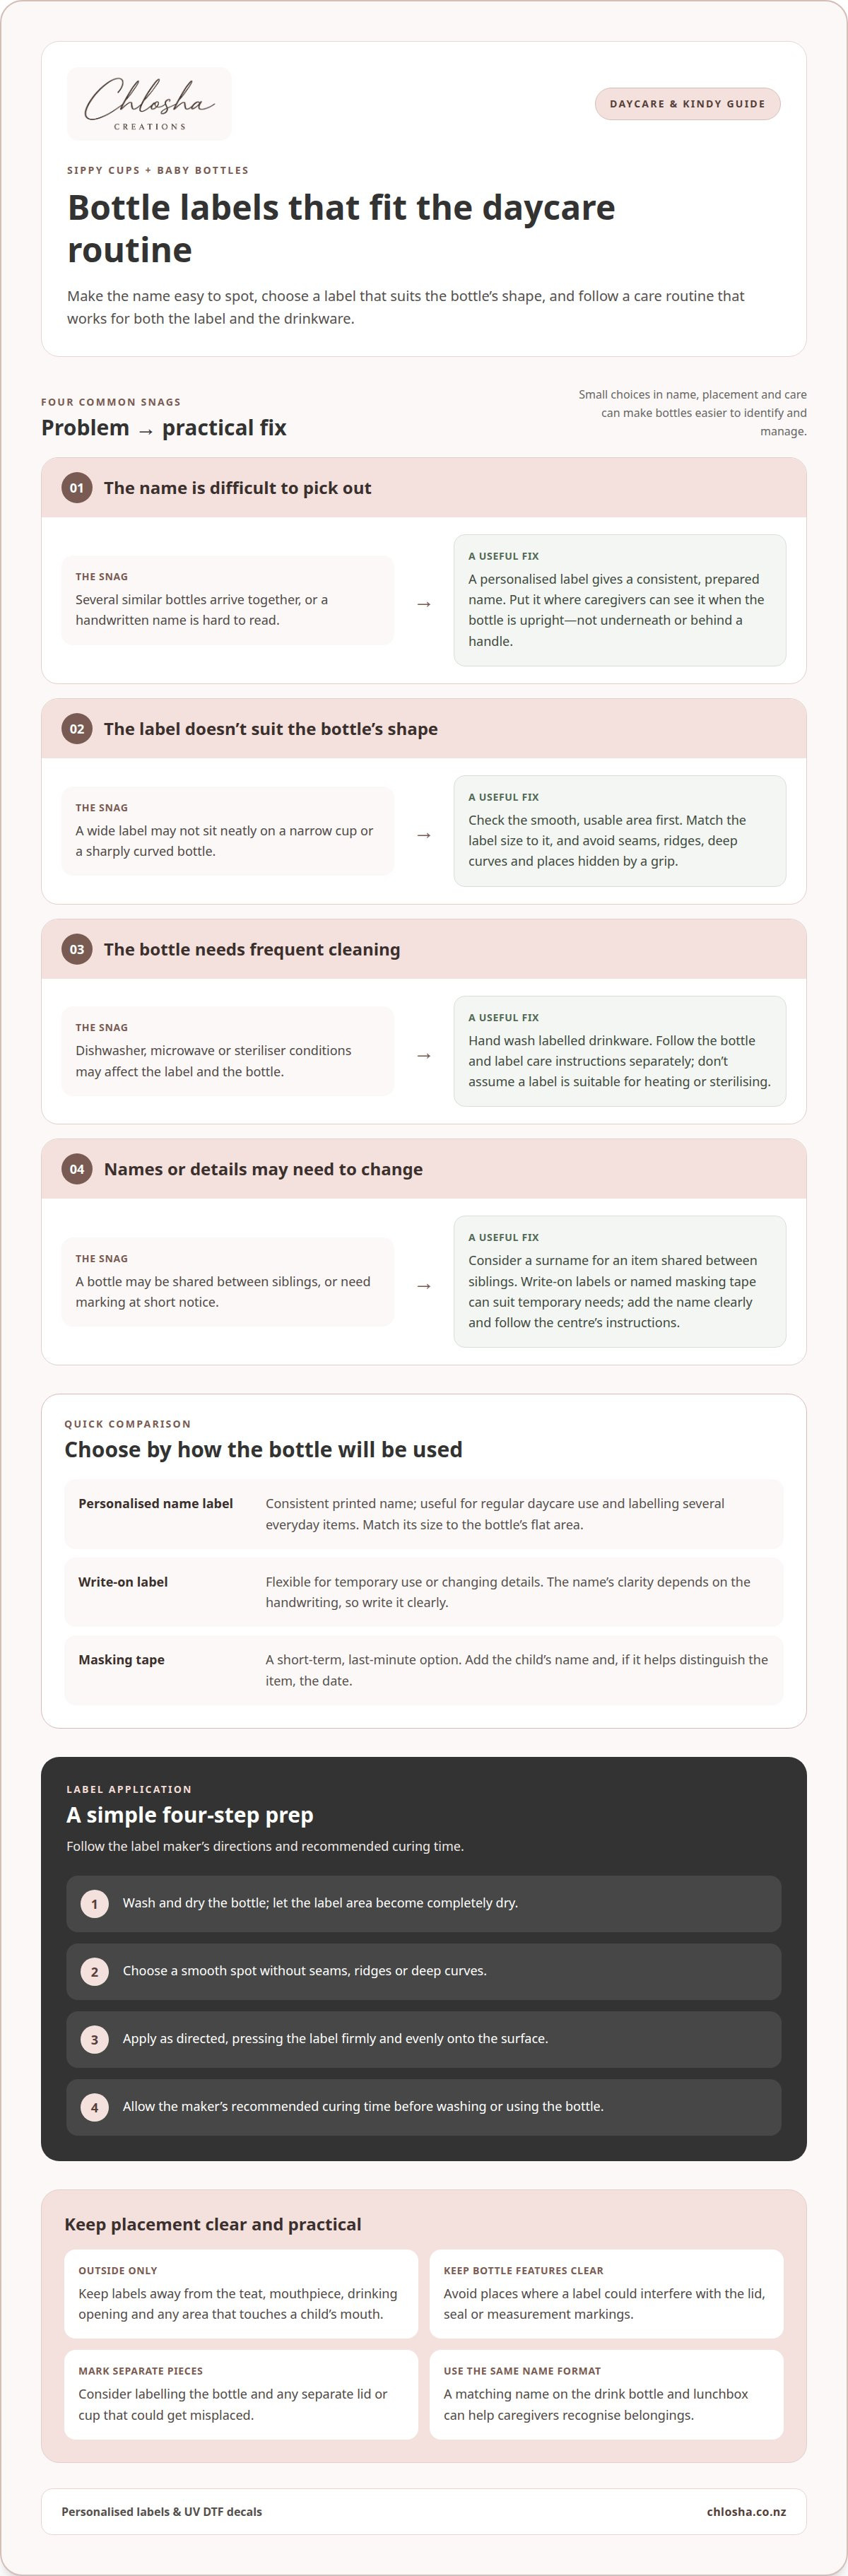
The best labels for sippy cups and baby bottles are the ones that fit the container’s shape, suit its washing routine and stay easy to read. A label that works on a wide bottle may be too large for a narrow cup, so size and placement matter as much as the label type.
Appearance matters, but daycare and kindy labels also need to make a child’s name clear and fit the item. Hand washing is recommended for labelled drinkware. Dishwasher and steriliser conditions can affect how a label holds up, so follow the label and bottle care guidance.
This guide compares label types for daycare, washing and sterilising, bottle fit, reuse, cost, sizes and quantities. You’ll also find practical tips for choosing a size, deciding how many labels to get and matching a label to your family’s routine.
Key Takeaways
- Choose a label size and placement that suit the bottle’s shape, leaving the name easy to see.
- For daycare and kindy, prioritise clear identification and consider how many cups and bottles need labelling.
- Hand wash labelled drinkware; label durability can depend on the surface, application, curing time, washing conditions and ongoing use.
- Think about reuse before choosing what name to display, especially if items may be passed on to siblings.
- Compare label sizes and quantities with the items you need to mark, then choose an option that fits your family’s routine.
Daycare and preschool labelling
For daycare, choose a label that makes the child’s name easy to spot on each bottle. Personalised name labels keep the printed name consistent, while write-on labels can suit temporary or changing needs.
Personalised daycare labels
Personalised daycare labels show a child’s name in a prepared design, helping families mark bottles consistently alongside other belongings. They’re useful when you’re labelling several everyday items and want to avoid handwriting each one. Choose a size that keeps the name readable on the bottle’s smooth, usable area. Compare name-label options by their dimensions and intended use.
Custom name labels
A personalised name label identifies the bottle without relying on a handwritten note added at drop-off. Caregivers can look for the same clear name when several similar bottles arrive together. Before choosing, check whether the bottle curves sharply or has only a narrow area for a label. Place it where staff can see it easily, rather than behind a handle.
Write-on bottle labels
Write-on labels let an adult add a name by hand and can help when a bottle needs marking at short notice. Masking tape with the child’s name and date can work as a temporary solution. Unlike a prepared name label, the writing can be changed, but someone must add a clear name each time. Treat tape as a short-term option and follow the centre’s labelling instructions.
How do personalised name labels compare with write-on labels for baby bottles? Personalised labels provide a consistent, pre-printed name, while write-on labels offer flexibility for temporary use or changing details. For a bottle shared between siblings, a surname may be more practical than one child’s first name.
| Option | Name clarity | Best suited to | Practical consideration |
|---|---|---|---|
| Personalised daycare label | Consistent printed name | Regular daycare use | Match the label size to the bottle’s flat area |
| Custom name label | Prepared name for quick identification | Frequently used bottles | Choose a legible name and visible placement |
| Write-on label | Depends on handwriting | Urgent or temporary marking | Add the name clearly and replace it when details change |
| Masking tape | Handwritten and temporary | A last-minute bottle | Include the date if it helps distinguish the item |
Before the first daycare morning, label the bottle and any separate lid or cup that could get misplaced. Use the same name format on the child’s drink bottle and lunchbox so caregivers can recognise their belongings. Keep the name visible when the bottle is upright, not underneath or behind a grip. On a curved bottle, choose the smoothest clear area and avoid seams or raised edges.
Ask the daycare or kindy which naming format it prefers. Then choose a personalised or write-on label based on how often the bottle is used, who needs to read the name and whether the details might change.
Dishwasher, microwave and steriliser safety
Hand washing is the safest care recommendation for labelled drinkware. A dishwasher, microwave or steriliser exposes bottles and labels to conditions that can affect adhesion, appearance and the bottle itself. Follow the bottle maker’s care instructions, and don’t assume a label is suitable for heating or sterilising.
Are there safety rules for where to place labels on baby bottles and sippy cups? Keep labels on the outside, away from the teat, mouthpiece, drinking opening and any area that touches a child’s mouth. Don’t place one where it could interfere with the lid, seal or measurement markings.
Material safety depends on both the label and the bottle surface. A label’s material or a BPA-free claim alone doesn’t establish that the finished bottle is suitable for a dishwasher, microwave or steriliser. Follow the bottle and label care instructions separately. If they don’t support a particular cleaning method, hand wash instead.
What are the best waterproof labels for sippy cups and baby bottles in New Zealand? Choose a label intended for smooth, hard surfaces, and treat hand washing as the care routine. No label should be assumed waterproof or dishwasher-safe in every situation. Surface condition, application, curing time, washing conditions and ongoing use all affect durability.
Application matters. To prepare the bottle for a secure fit, follow these steps:
- Wash and dry the bottle, then let the label area become completely dry.
- Choose a smooth spot without seams, ridges or deep curves.
- Apply the label as directed, pressing it firmly and evenly onto the surface.
- Allow the maker’s recommended curing time before washing or using the bottle.
How should you apply labels to baby bottles so they last and don’t peel? Start with a clean, dry surface, apply the label evenly and allow the required curing time. Hand wash gently instead of relying on a dishwasher or steriliser. Heat, detergent, repeated soaking and rubbing can affect a label, so avoid scrubbing directly over it.
For bottles that need frequent cleaning, choose the label based on its care instructions, not just its appearance. A smooth, no-background UV DTF transfer offers a different finish from a reusable silicone band, but neither should be treated as automatically safe for heating. You can compare personalised name labels for drink bottles, then follow the relevant application and care guidance.
Bottle and sippy-cup fit
A label fits best when its shape matches the bottle’s usable surface. A straight-sided baby bottle offers different placement options from a tapered sippy cup. Check the container while it’s empty and find a smooth section that stays visible when held.
Curves matter. A broad label can wrinkle or lift at the edges on a sharply curved bottle, while a narrow label may sit more neatly on a slim neck or compact cup. To find the best labels for sippy cups and baby bottles, compare each label’s width with the flattest available area, not the container’s overall height.
Handles and lids can hide a name. On a handled sippy cup, place the label where the handle won’t cover it when viewed from the front. On a baby bottle, keep it clear of the screw ring, teat and measurement marks. This keeps the name readable and the bottle easy to use.
Before applying a label, test the position with a paper strip cut to roughly the same shape. Wrap it around the bottle and check for overlap, creases and blocked details. This simple test can show whether a wide design fits a straight bottle but not a tapered cup.
- Straight bottle: use the broadest smooth area for a clearly readable name.
- Tapered cup: choose a narrower shape that follows the cup’s side.
- Handled cup: position the name away from the handle’s viewing line.
- Textured bottle: look for a smooth panel instead of raised ridges.
Surface texture also affects placement. Raised patterns, moulded logos and grip panels interrupt a smooth application area, so a label placed across them may not sit evenly. For example, position it below a textured grip or on the opposite side, where the surface is smoother.
Think about how the child and caregiver hold the bottle. A label near the base may be covered by a hand, while one near the top could compete with the lid. Hold the bottle as it’s normally carried, then choose a visible side away from the drinking opening.
Removable lids and sleeves create separate pieces that can get detached. If daycare staff remove the cup lid, a name on the cup body stays visible during use. Avoid placing a label across a join, where opening the lid could disturb its edge.
For a curved or textured cup, a smaller label on a smooth panel is usually easier to position neatly than a wide design. Keep it on the flattest visible area, clear of openings, seams, handles and measurement markings.
Reusability and long-term cost
A low upfront price doesn’t always mean better value. Compare the number of usable labels in a pack, whether the sizes suit your bottles and how the label fits your washing routine. A mixed-size pack, for example, may provide options for a baby bottle, sippy cup and lunchbox.
Which New Zealand label brands offer the best value, durability and customer reviews? There isn’t one best choice for every family. Compare label type, pack quantity, care guidance and feedback about the specific item. Reviews are most useful when they describe a similar bottle surface and washing routine.
What do bottle and sippy cup labels cost from New Zealand retailers, including shipping? The total depends on pack size, label format, delivery method and destination. Compare the delivered total with the number of labels you’ll use, rather than judging value by pack price alone.
For a practical comparison, calculate the cost per usable label: divide the delivered total by the labels that fit your bottles, not every label in a mixed pack. If some sizes don’t fit a narrow sippy cup, they may not add value for your household.
Reusability depends on the label style. A removable band can move between compatible containers, while an applied label stays attached to its original surface. Don’t assume an applied label will peel off cleanly or be reusable; removal can damage it or leave residue on the bottle.
Can bottle labels be removed cleanly, and are they reusable or suitable for hand-me-downs? It depends on the label and bottle surface, so don’t treat an applied label as reusable. For a hand-me-down bottle, a surname instead of a first name can keep the identification useful for siblings.
Think about reuse before personalising a bottle. A family surname may suit a bottle passed between siblings, while a child’s first name can make daycare sorting clearer. For a shared family bottle, a surname or neutral identifier may be more useful than one child’s name.
- For one child: choose a name that helps caregivers identify their bottle.
- For siblings: consider a surname when the bottle may be handed down.
- For mixed bottle sizes: compare label dimensions with each container before buying.
- For long-term value: include delivery in your comparison and count only labels you can use.
Care affects value over time. Hand washing is recommended for labelled drinkware, and durability depends on the surface, correct application, curing time, washing conditions and ongoing use. A label suited to your bottle and cleaning routine is a more useful choice than one backed by a broad durability claim.
Label sizes and quantities
Label dimensions help you judge fit before choosing a pack. One listed pack contains 4 medium name labels, each measuring 50 mm by 20 mm. It also includes 20 small labels measuring 45 mm by 10 mm, plus 16 tiny labels measuring 20 mm by 10 mm. These shapes suit different bottle surfaces, so compare the measurements with the space available.
| Label size | Quantity | Dimensions | Potential use |
|---|---|---|---|
| Medium | 4 | 50 mm by 20 mm | A broader, flatter bottle panel |
| Small | 20 | 45 mm by 10 mm | A narrow area with room for a name |
| Tiny | 16 | 20 mm by 10 mm | A compact cup or small accessory |
| Mini | 16 | 46.6 mm by 6.6 mm | A slim, elongated surface |
| Square | 6 | 24 mm by 24 mm | A small, flatter panel |
The listed mini labels are 46.6 mm long but only 6.6 mm high. That narrow profile differs from the 45 mm by 10 mm small labels, despite their similar length. A name with several letters may need more height to stay readable. A short name can fit a slimmer label, provided the lettering remains clear.
Measure the flattest usable area on each bottle before selecting a label size. A tapered sippy cup, for example, may have less space than a straight-sided baby bottle. Leave room around the label so its edges don’t cross a seam, raised grip or curve.
Choose quantities by counting the items that need names, then allow for replacements. The pack’s 20 small labels may suit a household marking several items, while 4 medium labels provide fewer options in that size. Count bottles, spare cups and lunchboxes separately; one label per item gives a useful starting point.
- For a narrow bottle panel: compare the small and mini dimensions.
- For a compact sippy cup: check whether the 20 mm by 10 mm tiny label fits.
- For a broad surface: test the 50 mm by 20 mm medium size.
- For a square panel: consider the 24 mm by 24 mm option.
Pack totals can look generous until you separate labels by size. Add the quantities in the listed pack for 4 medium, 20 small, 16 tiny, 16 mini and 6 square labels. Then match each size to a specific item, rather than assuming every shape will suit every bottle.
For a practical choice, measure the bottle’s smooth area, compare its length and height with the label dimensions, then count how many matching labels your household needs. A small paper template cut to 50 mm by 20 mm or 24 mm by 24 mm can help you picture the fit before applying a label.
Chlosha Creations: Drink Bottle & Lunchbox Labels
Chlosha Creations offers Drink Bottle & Lunchbox Labels for marking children’s everyday items for daycare, kindy and school. Its premium UV DTF transfers have a clean, smooth, no-background finish, making a name easy to read on a suitable hard surface.
Choose Personalised Name Labels for straightforward identification, or Personalised Icon + Name Labels when a visual cue may help a child recognise their bottle. Match the label to a smooth, hard area and follow the application and care guidance. Hand washing is recommended; durability depends on the surface, application, curing time, washing conditions and ongoing use.
Choose a personalised label for your child’s drink bottle from Chlosha Creations.
Choose a label that suits your next routine
First decide what you need the label to do: identify one child’s drinkware, make belongings recognisable at a glance or remain useful for more than one family member over time. That priority can guide your choice of name and design, helping the label work beyond the first day of daycare or kindy.
For families choosing the best labels for sippy cups and baby bottles, Chlosha Creations offers Personalised Name Labels, Personalised Icon + Name Labels and Kids Name Labels. Choose the option that fits how your child and caregivers identify belongings. A name-only design focuses on identification, while an icon adds another visual cue.
When you’re ready to choose a design for your child’s drinkware, explore personalised name labels. A thoughtful choice can make everyday routines feel a little more organised.
Frequently Asked Questions
Which labels stay attached through bottle sterilising, dishwashers and regular washing?
No label should be assumed to withstand every sterilising method and wash cycle. Chlosha’s UV DTF labels aren’t claimed to be compatible with all sterilising methods. If you routinely sterilise a bottle, follow its manufacturer’s instructions and use a label only according to its stated care guidance.
Are dishwasher-safe name labels safe to use on baby bottles and sippy cups?
A dishwasher-safe claim describes a cleaning condition; it doesn’t establish that a label is suitable for every part of baby drinkware. Keep labels on the bottle’s exterior, away from milk, teats and drinking surfaces. Chlosha’s labels aren’t claimed to be dishwasher-safe, so don’t interpret a general dishwasher label claim as an endorsement for a baby bottle.
What materials and adhesives are used in baby bottle labels, and are they BPA-free and non-toxic?
Chlosha uses UV DTF printing for its labels. UV DTF describes the transfer method, not a particular adhesive formula or a BPA-free or non-toxic certification. Make those material and safety claims only when product information explicitly supports them. Keep name labels on the bottle’s outside, away from milk and a child’s mouth.
Which label types work best on curved bottles, silicone cups and different bottle materials?
Check the product information to confirm whether a transfer is suitable for your bottle’s material and shape. On a curved bottle, adhesion may depend on how much flat surface remains; a label bridging a deep contour may not adhere evenly. Match the transfer type to the bottle before choosing.
