

Handmade by' Decals for Crafters in Custom Sizes and Colors
The best ‘handmade by’ decals for crafters fit the item, stand out against its surface and suit the material. Measure the space first, then choose lettering that will stay clear and readable at the finished size.
It’s easy to focus on a pretty font or colour, but the surface matters just as much. A decal for a smooth jar or gift box may need a different application method from one for another project. UV DTF transfers and traditional vinyl decals are different options.
This guide explains how to choose a practical size, colour, material and lettering style, and how to compare decal options for different craft surfaces. You’ll also find simple checks to make before ordering custom text, so the finished design feels like a thoughtful part of your handmade work.
Key Takeaways
- Measure the decorating area before choosing a decal size, and consider how the lettering will read at that scale.
- Choose a colour that contrasts clearly with the surface so your design is easy to see.
- Match the decal type to the project surface; clean, dry, smooth surfaces are best for applying craft decals.
- Review custom wording and spelling carefully before production, especially on small designs.
- Consider the surface, application and care needs when choosing between vinyl and UV DTF options for your craft project.
Available sizes, colours, and materials
In New Zealand, labelling requirements depend on the product category. A craft decal doesn’t replace any required product information for goods you sell. Consider the specific item, such as a candle, food product or wooden toy, and keep any claims accurate.
Start with the space available. Measure the flat area where the wording will go, then leave some clear room around it. A small label on a narrow jar needs less text than a maker mark on a broad gift box. Check the measurement against the item, not just a screen preview.
Consider how the finished piece will be handled. A tiny design may suit a jewellery pouch, while a larger mark can be easier to read on a storage tin. Longer wording takes up more space, so keep text brief if the area is small. Check that the design fits without wrapping around edges.
Choose a colour that contrasts with the background. Dark lettering often stands out on pale card, while a light shade can be clearer on a dark surface. For a natural wood box, compare the decal colour with the grain. Strong contrast keeps wording legible; similar shades can obscure fine letters.
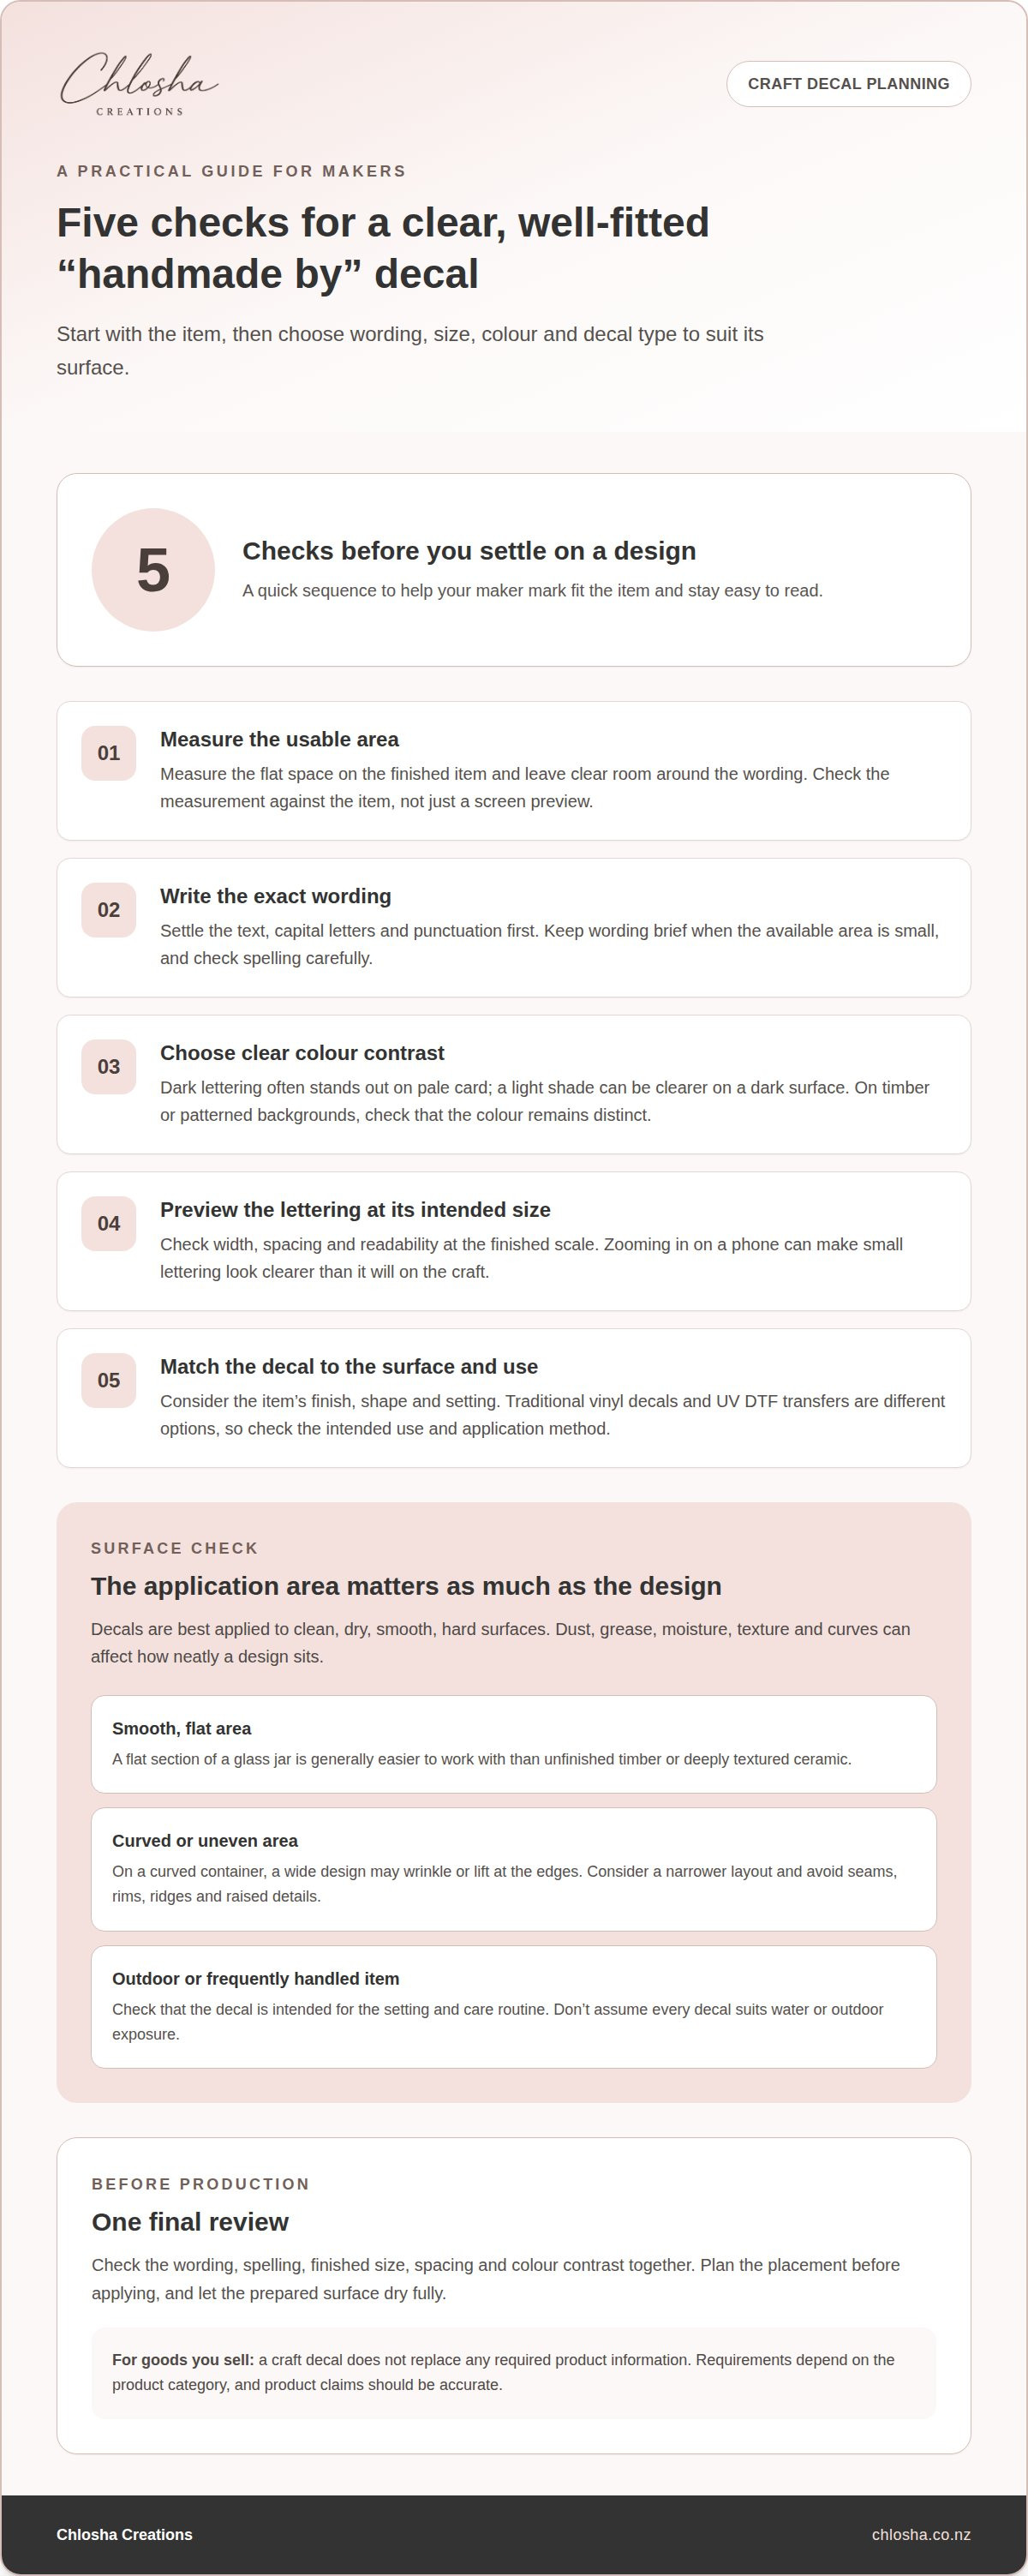
Use this quick sequence before settling on a design:
- Measure the usable area on the finished item.
- Write the exact wording, including capital letters and punctuation.
- Choose a colour that contrasts with the surface.
- Check the lettering at its intended size.
- Match the decal material to the item’s surface and use.
Material matters because craft projects have different finishes. A smooth glass jar, coated metal tin and unfinished timber box each present a different surface. Decals are best applied to clean, dry, smooth, hard surfaces. Dust, texture or curves can affect how neatly a design sits, so match the material and placement rather than choosing by appearance alone.
Traditional vinyl and UV DTF transfers are different decal options, not interchangeable names. Consider the project surface and application method when choosing. A flat, smooth gift box, for example, may suit a simple maker mark, while a rounded container needs careful sizing and placement. Check that the product is intended for your project.
Finally, preview the design at the actual intended size. Zooming in on a phone can make small lettering appear more readable than it will be on a finished craft. Check the width, spacing, colour contrast, and spelling together. These checks help ‘handmade by’ decals for crafters feel intentional, fit the item, and show your maker details clearly.
Choosing decals for different surfaces
Start with the item’s finish, shape and setting. A flat glass jar, textured timber sign and outdoor planter each need different consideration before you choose a decal.
Surface Suitability
Look closely at the exact spot you plan to decorate. Decals are best applied to clean, dry, smooth, hard surfaces. Dust, grease and moisture can interfere with application, while a rough or porous finish may prevent close contact. A smooth, flat section of a glass jar is generally easier to work with than unfinished timber or deeply textured ceramic.
Shape matters, too. On a curved candle jar, a wide design may wrinkle or lift at the edges. Choose a narrower layout and place it away from seams, rims and ridges. On a wooden gift box, check whether the grain or coating makes the surface uneven. Plan the placement before applying, especially on a handmade item with an irregular finish.
Waterproof and Outdoor Use
Don’t assume every decal suits water or outdoor exposure. The material and intended use matter. Indoor wall designs are best kept indoors, while outdoor vinyl is better suited to clean, smooth exterior surfaces. An outdoor planter, for example, needs an option intended for exterior use, not a design made for an indoor wall.
Water exposure is another consideration. A decal on a display jar may face occasional splashes, while a reusable item could be washed often. These conditions place different demands on the decal and surface. Check the product’s intended use and avoid calling an item waterproof unless that claim is supported.
Match the colour to the background and the craft style. Choose decal vinyl colour with the surface in mind. A pale design may disappear against cream paint, while dark lettering can be clearer on a light gift box. On patterned paper or timber grain, a simpler colour and lettering style can keep the mark readable.
Prepare the chosen area before application. Remove dust and residue, then let the surface dry fully. Avoid placing the design across a join, lid edge or raised detail, as these can interrupt contact and make neat application harder. If the object is curved, align the design with its shape instead of stretching it across the bend.
Consider how the finished craft will be handled. A decorative sign may stay in one place, while a keepsake tin could be picked up and moved regularly. Match the decal’s intended use to the item’s location and care routine. If the craft is a gift, think about how the recipient will clean or store it.
For best results, decide on the surface before choosing a design. A smooth, dry area gives you a clearer starting point; a textured or exterior surface calls for closer attention to material suitability. If your project is labelling belongings rather than decorating a craft, explore personalised name labels for everyday items.
Custom lettering and decal options
For custom lettering, choose the wording, style and decal type together. A short maker name can suit a compact design, while a longer business name needs more space.
Use wording and artwork you created or have permission to use. Don’t copy a protected logo, character or brand name for commercial use without permission. A hand-drawn fern, for example, is a safer starting point than reproducing a familiar cartoon character.
Lettering sets the mood of a handmade piece. A neat, simple font can suit a candle jar, while handwritten lettering may work well on a gift box. Choose a style that fits your craft, then check that each letter stays clear at the intended size.
Consider the words before choosing a font. “Handmade by Ana” is shorter than a full business name and may fit better on a small tag. Keep essential wording prominent, and remove extra phrases if they crowd the design. A clean layout is easier to read at a glance.
These choices help shape the finished decal:
- Wording: Use the exact maker name or message.
- Lettering: Match the style to the craft’s character.
- Layout: Keep spacing clear around each word.
- Colour: Choose contrast against the item’s background.
Review custom text carefully before production. Check spelling, capital letters, punctuation and spacing in the final proof. Compare “Made by Moana” with your intended wording instead of relying on memory. It’s simpler to correct a typo before production than to discover it on finished stock.
Decal options also differ in how they are applied. Traditional vinyl decals and UV DTF transfers are distinct formats, so choose according to the surface and application method. UV DTF transfers have a clean, smooth, no-background finish when the artwork has a transparent background. Individual words may suit a simple maker mark, while detailed artwork may need a different layout.
Plan the placement before finalising the lettering. A maker’s mark near the base of a jar may need compact text, while a broad gift box offers more room. Keep words away from edges, joins and curves for a balanced appearance, and avoid splitting a phrase across awkward areas.
Before approving a design, read it at the intended size and view it against a similar background. Check that the smallest letters are legible and the wording looks balanced. These simple checks help custom lettering look considered on finished craft pieces.
Vinyl decals for DIY craft projects
Vinyl decals can add names, short messages or simple shapes to craft projects, such as a wooden sign, acrylic display or notebook cover. Choose a design that suits the material and how you’ll use the finished piece. Measure the project area, leaving space around the design so it doesn’t crowd an edge or hinge.
Plan the layout at its intended size. A long phrase needs more width than a maker’s name, and fine lettering can become difficult to read when reduced. For a small gift tag, try a short phrase such as “Made by Hana”. A larger market sign may have room for a business name and an extra line.
Use this preparation sequence before applying a DIY vinyl decal:
- Measure the flat area for the design.
- Check the material and finish, including any texture or coating.
- Clean the surface and let it dry.
- Position the decal before pressing it into place.
- Follow the application instructions supplied with the decal.
Keep the artwork suitable for the cutting and application method. Simple outlines, clear lettering and separated shapes are easier to place than tiny, crowded details. A fern silhouette, for example, can work as a single motif on a craft box. Several small words may need a larger area to keep each part distinct.
Treat colour as part of the design, not an afterthought. A bright shade can stand out on a muted background, while a subtle tone may suit a coordinated gift. Check the decal against the actual project material. Lighting and screen settings can make a digital preview look different from the finished combination.
For layered designs, plan how the pieces fit together before application. Aligning separate shapes on an acrylic display takes patience, so mark the intended position lightly with a removable guide. Keep each element clear of edges and joins. A clean, smooth surface helps application; uneven finishes make precise placement harder.
Traditional vinyl and UV DTF transfers use different application methods. Choose according to the craft surface, design and product instructions. Don’t assume one option suits every project. Vinyl intended for clean, smooth exterior surfaces may suit an outdoor craft, while a design made for an indoor wall belongs indoors.
Take care with claims in product listings, too. A discount or “waterproof” label doesn’t establish whether a decal suits your project. Focus on intended use, surface suitability and care directions. If you sell your crafts, describe the decoration accurately and avoid making unsupported performance claims.
Are handmade-by decals waterproof, removable, or suitable for outdoor use?
There isn’t one answer for every decal. Water exposure, removal and outdoor use depend on the decal material, application, surface and care. A label on a display box has different demands from one on a garden pot. Match the decal’s stated use to the finished craft instead of relying on appearance alone.
Use the word “waterproof” carefully. A claim may apply to the decal material, not the whole item or its use. Application, curing time, washing conditions and ongoing use can affect durability. A drink bottle used daily faces more handling and washing than a decorative jar. Hand wash decorated items, and don’t claim dishwasher or microwave safety.
If an item may get wet, consider where water will reach it. A decal on the outside of a plant pot might encounter rain and damp soil, while one near a bottle opening may face repeated contact with water. Choose a product intended for those conditions, apply it to a suitable surface and follow its care instructions.
Outdoor use needs a separate check. Indoor wall designs are best kept indoors, while outdoor vinyl is better suited to clean, smooth exterior surfaces. A smooth garden sign may suit an outdoor option; rough timber or a curved surface needs closer consideration. Sun, rain, handling and the item’s finish all affect how well the design suits its setting.
Removability varies, too. A decal may come away differently from glass than from painted wood, and removal can affect delicate finishes. Don’t assume “removable” means residue-free or safe on every craft material. If you plan to change a design, choose an option described as removable and consider the surface underneath, such as paint, varnish or a coating.
Before applying a decal to a craft that will be washed or displayed outside, use this check:
- Identify the exact surface, including its coating and texture.
- Decide whether it will face rain, splashes, frequent washing or handling.
- Match the decal’s stated use to those conditions.
- Apply it correctly and allow for any curing guidance.
- Use hand washing for decorated drinkware and follow care instructions.
A small test area can help reveal how a decal interacts with a less-visible part of the surface. This is useful on a painted box or coated jar, where removal may affect the finish. For everyday belongings that need clear identification, browse personalised name labels and choose an option suited to the item.
Chlosha Creations: Personalised Name Labels
Chlosha Creations offers personalised name labels for everyday belongings, rather than maker marks for craft products. They’re a useful option when you need to identify children’s school, daycare or kindy items, such as drink bottles and lunchboxes.
Choose Personalised Name Labels for a straightforward name, or Personalised Icon + Name Labels when a visual cue would help distinguish belongings. Kids Name Labels and School Name Labels can help families organise items for home and school routines.
These labels use UV DTF transfer technology, with a clean, smooth, no-background finish. Match the label to the item’s surface and follow its application and care guidance. For decorated drinkware, hand washing is recommended.
If name labels are the practical fit for your next project, explore personalised name labels on the Chlosha Creations website.
Give your next project a considered finish
A maker’s mark can become part of how people recognise your work. Before your next batch, decide where each design will sit and how it fits the finished item. That small planning step helps create a consistent look across gift boxes, market pieces and keepsakes.
Choosing ‘handmade by’ decals for crafters involves more than picking attractive lettering. Think about the decal’s purpose: a maker mark identifies your work, while a name label helps someone keep track of an everyday item. Keeping those purposes distinct makes it easier to choose the right kind of personalisation.
If your next project involves identifying family or school belongings, explore personalised name labels from Chlosha Creations. They offer a practical option for items that need a name, rather than a maker’s signature. Keep creating at your own pace, with each detail chosen to suit its purpose.
Frequently Asked Questions
What are ‘handmade by’ decals used for by crafters?
Crafters use maker decals to identify who made an item and give finished work a personal signature. Add one to a suitable gift box, glass jar or acrylic display, for example. A maker’s name can help customers recognise your work at a market, while a short phrase can make a handmade gift feel more personal. Keep the mark separate from any required product information.
What types and sizes of handmade-by stickers or decals are available?
Options range from small name marks to larger custom designs and printed sheets. Custom UV DTF transfers come in A5 and A4 sheet formats, or custom lengths with a maximum printable width of 280 mm. Choose based on your project area and the amount of detail. A small mark on a jar lid needs a different layout from a logo on a broad display panel.
What materials and finishes are available for handmade-by decals?
UV DTF transfers have a smooth, raised finish and support full-colour printing with white ink. A transparent artwork file is required for a no-background finish. Transfers are best suited to smooth, hard surfaces such as glass, acrylic, metal, stainless steel, ceramic and smooth plastic. Match the surface and the transfer to your project.
Can you customise handmade-by decals with a name, logo, or business details?
Custom UV DTF printing can include a name, logo or business details such as a website or QR code. Prepare the final wording and artwork before ordering, then check every detail carefully. Please double-check the spelling before ordering, as your label will be printed exactly as entered. Colours may appear slightly different depending on your screen settings. A transparent artwork file is required for a no-background finish.
How do you apply handmade-by decals to packaging, glass, fabric, and other surfaces?
Apply transfers only to clean, dry, smooth hard surfaces, such as glass, acrylic or suitable coated packaging. Fabric isn’t suitable. Clean the surface, position the design, press or squeegee firmly, then peel the carrier at a low angle. Press firmly and allow the icon to cure for at least 24 hours before washing or heavy use. If the item may go in the dishwasher, wait 72 hours before washing; hand washing is recommended for longest life. Commercial dishwasher use isn’t recommended.
