

School Supply Labels: A Guide for New Zealand Families
What makes the best labels for school supplies? Start with the surface, not just the pack size. Drink bottles, lunchboxes and stationery can be easy to mix up or leave behind, but a label needs a compatible surface to sit well.
If you’re getting ready for school or kindy, you’ll want names that are easy to read without making preparation complicated. Chlosha Creations’ UV DTF name labels have a clean, no-background finish and are designed for compatible smooth, hard surfaces. Textured, flexible or soft plastic items, along with uncoated paper, aren’t suitable, so check each item before applying a label.
This guide explains which belongings may be suitable for personalised labels, how to match label size and placement to each item, and how to apply and care for transfers. You’ll also find the preparation steps and waiting times to follow before normal use. Checking surfaces first helps you choose labels for the items that suit them.
Key Takeaways
- Prioritise belongings that are easy to mix up, and check whether each item has a suitable surface before choosing a label.
- UV DTF labels create a clean, no-background finish on compatible hard surfaces.
- For labels for school supplies, compare the available flat space with the label size rather than automatically choosing the largest option.
- Follow the application steps for a neater finish, then allow the recommended time before normal use.
- Explore the School and Books & Stationery ranges to find a pack that suits your family’s school-prep needs.
Labels for school supplies: what is worth labelling first?
Lunchboxes and drink bottles can look much like everyone else’s, especially when they’re collected together after a busy school or kindy day. Personalised labels make belongings easier to identify. Start with items your child uses often or could easily mix up.
A school name label helps identify a child’s belongings so they’re easier to tell apart and return. Prioritise lunchboxes, drink bottles and suitable hard-surface gear. Add stationery or books only if the specific surface is compatible. UV DTF transfers are intended for smooth, hard surfaces, so they won’t suit every item in a school bag.
Which school belongings are useful to label?
Begin with the things that travel between home and school each day. Check the exact spot where you plan to place a label: it should be smooth, flat and firm. Avoid textured or grooved areas, silicone, flexible or soft plastic, fabric, uncoated paper and polypropylene. If you’re unsure about a book cover or stationery item, check its material rather than assuming a label will adhere.
Schools and care providers may have preferences about which belongings to name or how to mark shared supplies. Check the list or ask before labelling items that might be pooled for classroom use.
What does a no-background name label look like?
A UV DTF name label is a transfer applied to a compatible hard surface. Once applied, the name or design remains without a surrounding background shape, giving the item a clean appearance with a slightly raised effect. This no-background finish lets you add a name without covering a larger patch of the item.
For a closer look at options and how personalised designs work, explore personalised name labels in NZ. Surface preparation and firm pressure matter during application. For general background, pressure-sensitive adhesives form a bond influenced by contact and surface conditions. That reference describes adhesive technology generally, not the specific construction of UV DTF transfers.
Not sure what to name first? Lay out your child’s school things and group the frequently used, easily mixed-up items together. Check each surface before deciding where a label will go. This simple check gives you a practical list of suitable items before you choose a pack.
How UV DTF labels work on school supplies
UV DTF means ultraviolet direct-to-film. The name or design is prepared as a transfer and applied to a compatible hard surface. Once the carrier is removed, the design remains without a surrounding background shape, creating a clean appearance with a slightly raised effect.
UV DTF transfers are suited to clean, smooth, firm surfaces such as compatible drink bottles, lunchboxes, glass and acrylic. The material alone isn’t enough to judge suitability: two plastic items can have very different finishes. Check the item’s material and the exact spot you plan to label before applying.
Which school-supply surfaces are suitable?
Look for a flat, non-textured area that won’t flex during everyday handling. A smooth section of a hard drink bottle or lunchbox may be suitable, as might a compatible glass or acrylic item. Avoid seams and curved areas where the transfer can’t sit flat. If you’re uncertain about a surface, check its material rather than assuming all hard-looking items are alike.
Which surfaces should families avoid?
Skip textured or grooved areas, silicone, flexible or soft plastic, fabric and uncoated paper. Polypropylene is also unsuitable. A transfer may not adhere reliably to these materials, even if the item looks clean. Check the surface, not just the product category: a hard plastic container still needs a compatible finish and a flat application area.
Good application makes a difference. Follow the product instructions, prepare the surface so it’s clean and dry, and use firm, even pressure. Allow 24 hours before normal use so the transfer has time to cure. Durability depends on the surface, application and curing time, so don’t assume every labelled item will wear in the same way.
Labelling is also a practical step in preparing belongings for school. Bright Horizons includes naming items in its back-to-school checklist. For compatible items, explore personalised name labels and check the product details against the surface you have in mind.
Choose school supply label sizes by item and available surface
The best size for labels for school supplies depends on the flat, usable space on each item. A larger label may be easier to read, but it won’t suit a narrow or curved spot simply because the item itself is large. Measure the intended area first, then compare it with the label dimensions.
How to compare label pack sizes
The Classic Name Pack comes on a 140 × 200 mm sheet and includes 12 labels in three sizes:
- Two large labels, each 120 × 32 mm
- Four medium labels, each 55 × 15 mm
- Six small labels, each 33 × 8 mm
Measure the flat area where you’d like to place a name, allowing for nearby seams, edges or curves. The dimensions above describe the labels, not a guaranteed fit for any particular item.
How to plan labels for different school items
Use the available space as your guide. A broad, flat panel may accommodate a larger label, while a narrow, smooth area may call for a smaller one. Before choosing, check that the surface is compatible and that the label won’t cross a curve, seam, groove or textured section.
| Item type | Surface to check | Sizing consideration |
|---|---|---|
| Lunchbox | Flat, smooth, firm panel | Measure the panel and keep clear of edges and grooves. |
| Drink bottle | Smooth area that doesn’t flex | Check the usable flat space; a curved bottle may limit placement. |
| Stationery | Compatible smooth, hard surface | Small labels may suit narrow spaces, if the material is suitable. |
| Book | Compatible coated, firm surface | Check the cover material first; uncoated paper isn’t suitable. |
Consider readability as well as fit. A name needs enough room to be clear, but the largest size isn’t automatically the best choice. If you’d like a themed design alongside a name, explore the icon and name label options. Measure each item separately, since supplies in the same category can have different shapes and finishes.
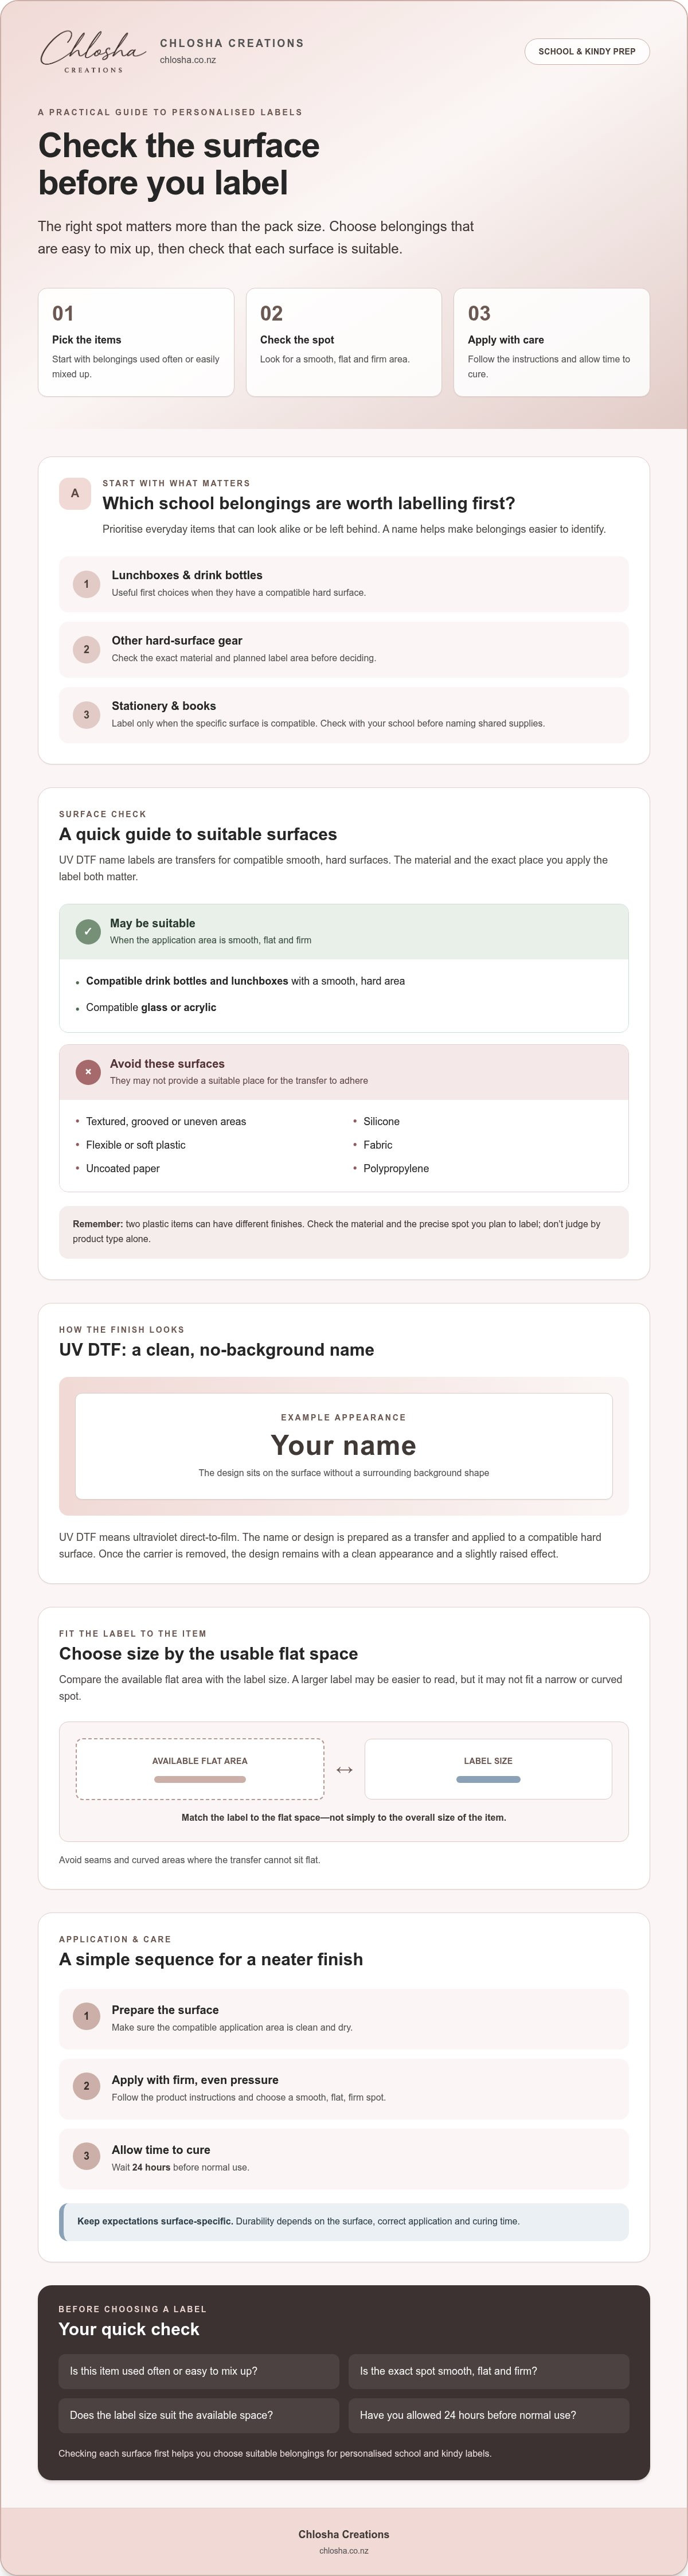
Apply school supply labels carefully for a neat finish
A little care during application helps a UV DTF transfer sit neatly on a compatible surface. Set aside a few minutes when the item won’t need to be handled straight away, and follow the instructions supplied with the labels. A clean, dry surface, firm pressure and enough curing time all matter.
A simple application sequence for smooth hard surfaces
- 1. Prepare the item. Check that the chosen spot is smooth, firm and compatible. Clean it thoroughly, then let it dry completely. Dust, moisture or residue can interfere with application.
- 2. Position the transfer. Before pressing it down, line it up on a flat area away from seams, grooves and edges. Check that the name will be easy to see.
- 3. Press firmly. Apply even pressure across the transfer, using a squeegee or the tool recommended in the product instructions. Work carefully over the whole design.
- 4. Remove the carrier. Peel it back slowly at a low angle. If part of the design lifts with the carrier, lay it back down and press that area again before continuing.
If the carrier is difficult to remove, a warm hair dryer on a low setting may help. Use gentle warmth only if needed, and avoid overheating the item.
Care expectations after applying a label
Give the transfer time to settle before the item goes back into the school bag. Wait approximately 24 hours before normal use. If the item is suitable for dishwasher cleaning and the product instructions allow it, wait approximately 72 hours before dishwasher exposure. This is a wait time, not a guarantee that a labelled item is dishwasher-proof.
Careful preparation and curing give a transfer the best chance to adhere well, but the surface and application still affect durability. A suitable smooth surface, thorough drying and even pressure support a neat finish. Rough handling or an incompatible material can affect how well the transfer holds. Follow the supplied care guidance for ongoing cleaning, and avoid scrubbing directly over the design.
Ready to prepare a few belongings? Explore personalised name labels, then choose items with compatible surfaces and allow time for careful application and curing before school use.
Find personalised school supply labels that fit your family’s needs
Choosing labels for school supplies is easier when you work through four steps: identify what needs a name, check the surface, measure the available space and compare packs. This helps you focus on belongings that are suitable for a UV DTF transfer, rather than assuming one label type will work on everything in the school bag.
Chlosha Creations offers School and Books & Stationery label ranges for school preparation. Its personalised UV DTF transfers have a clean, no-background finish with a slightly raised effect and are designed for suitable smooth, hard surfaces. The family-run New Zealand business makes these transfers with care, but surface compatibility still matters. Fabric, uncoated paper, silicone, flexible or soft plastic, and polypropylene aren’t suitable.
Which name label pack may suit your school list?
Pack options include Classic, Mega, Big Gear, Middle, Slim, Mini and Sibling. Compare the pack dimensions and label sizes with the flat area on the specific items you plan to name. A pack with a mix of sizes may offer flexibility, but it doesn’t guarantee that every label will fit every item.
Before choosing, jot down the belongings you want to label and note their materials and available space. Check for curves, seams, grooves or textured areas, too. A flat panel on one lunchbox may offer more room than a narrow section on another, even if the items seem similar.
How to keep school preparation simple
Make a short list, then separate compatible smooth, hard-surface belongings from items made of fabric, paper or unsuitable plastics. For anything uncertain, check the material and product guidance before applying a transfer. If your school or kindy shares some supplies, check which items should be named individually.
Once you know what needs labelling and have checked the surfaces, compare the available sizes and pack options. You can explore personalised name labels and choose an option that suits your family’s list, without expecting one pack to fit every school item.
Make school prep simpler, one item at a time
Choosing labels for school supplies starts with the belongings your child is most likely to mix up or leave behind. Check each item’s surface, measure the flat space, then choose a pack with sizes that suit the things you plan to label. UV DTF transfers are made for compatible smooth, hard surfaces, so they aren’t right for every school item.
Chlosha Creations is a family-run New Zealand business offering premium UV DTF transfers with a clean, no-background finish and a slightly raised effect. Name label packs come in several sizes and formats, giving you options to compare against your school list and the available surface on each item. Suitability and durability still depend on the surface and careful application.
Ready to organise your child’s belongings? Explore personalised name labels and see which options may suit your family’s school preparation. Check each item before choosing a label and allow time for careful application and curing before use.
Frequently Asked Questions
Can I put name labels on all school supplies?
No. UV DTF name labels are intended for compatible smooth, hard surfaces, not every material in a school bag. A suitable flat area on a hard lunchbox or drink bottle may work, but avoid fabric, uncoated paper, silicone, textured or grooved spots, flexible or soft plastic, and polypropylene. Check each item’s material and surface before applying. For shared supplies, check your school or kindy’s labelling preferences first.
Are UV DTF labels suitable for school books and stationery?
Only if the particular item has a compatible smooth, hard surface. Some hard stationery items may be suitable, but don’t assume every pen, case or ruler has the right finish. Uncoated paper, including many book pages and covers, isn’t suitable. Check the surface and material, and make sure the label can sit flat without crossing a seam, groove or textured area.
How do I apply a name label to a drink bottle or lunchbox?
Choose a compatible smooth, firm area, then clean and dry it thoroughly. Position the transfer carefully and press or squeegee firmly across it. Peel the carrier back slowly at a low angle. If part of the design lifts, press it down again before continuing. A warm hair dryer on a low setting may help if needed. Follow the product instructions and allow curing time before use.
How long should I wait before using a newly labelled item?
Wait approximately 24 hours before normal use. This gives the transfer time to cure after application. During that period, avoid handling, washing or using the item as usual. Following the wait time supports the application, but it doesn’t guarantee the same durability on every item. The surface material, how well it was prepared and how carefully the transfer was applied all make a difference.
Can labelled school supplies go in the dishwasher?
Dishwasher exposure may be appropriate for some labelled items, but it isn’t a guarantee that every item or transfer is dishwasher-proof. Wait approximately 72 hours after applying the label before dishwasher exposure, where appropriate, and check both the label’s care guidance and the item’s own cleaning instructions. Surface suitability, correct application and curing time affect durability. If unsure, wash the item by hand rather than risk damaging it.
Will a UV DTF label stick to fabric, silicone or flexible plastic?
No. These transfers are designed for suitable smooth, hard surfaces, not fabric, silicone or flexible or soft plastic. They’re also unsuitable for textured or grooved areas, uncoated paper and polypropylene. On these materials, a transfer may not adhere reliably. Check the item’s material and surface before applying, even if another part of the same item feels firm or smooth.
How do I choose the right name label size for school supplies?
Measure the flat, usable area on each item and compare it with the label dimensions. Choose a size that leaves room around edges, seams and curves while keeping the name readable. The largest option won’t suit every surface. Packs may include a mix of sizes, so consider the items on your school list and their materials before choosing labels for school supplies.
